Data Load
Adding Existing Databases
This sections assumes that there is an existing database available. The database should be in a Postgres docker container name or external database with a Fully Qualified Domain Name (FQDN).
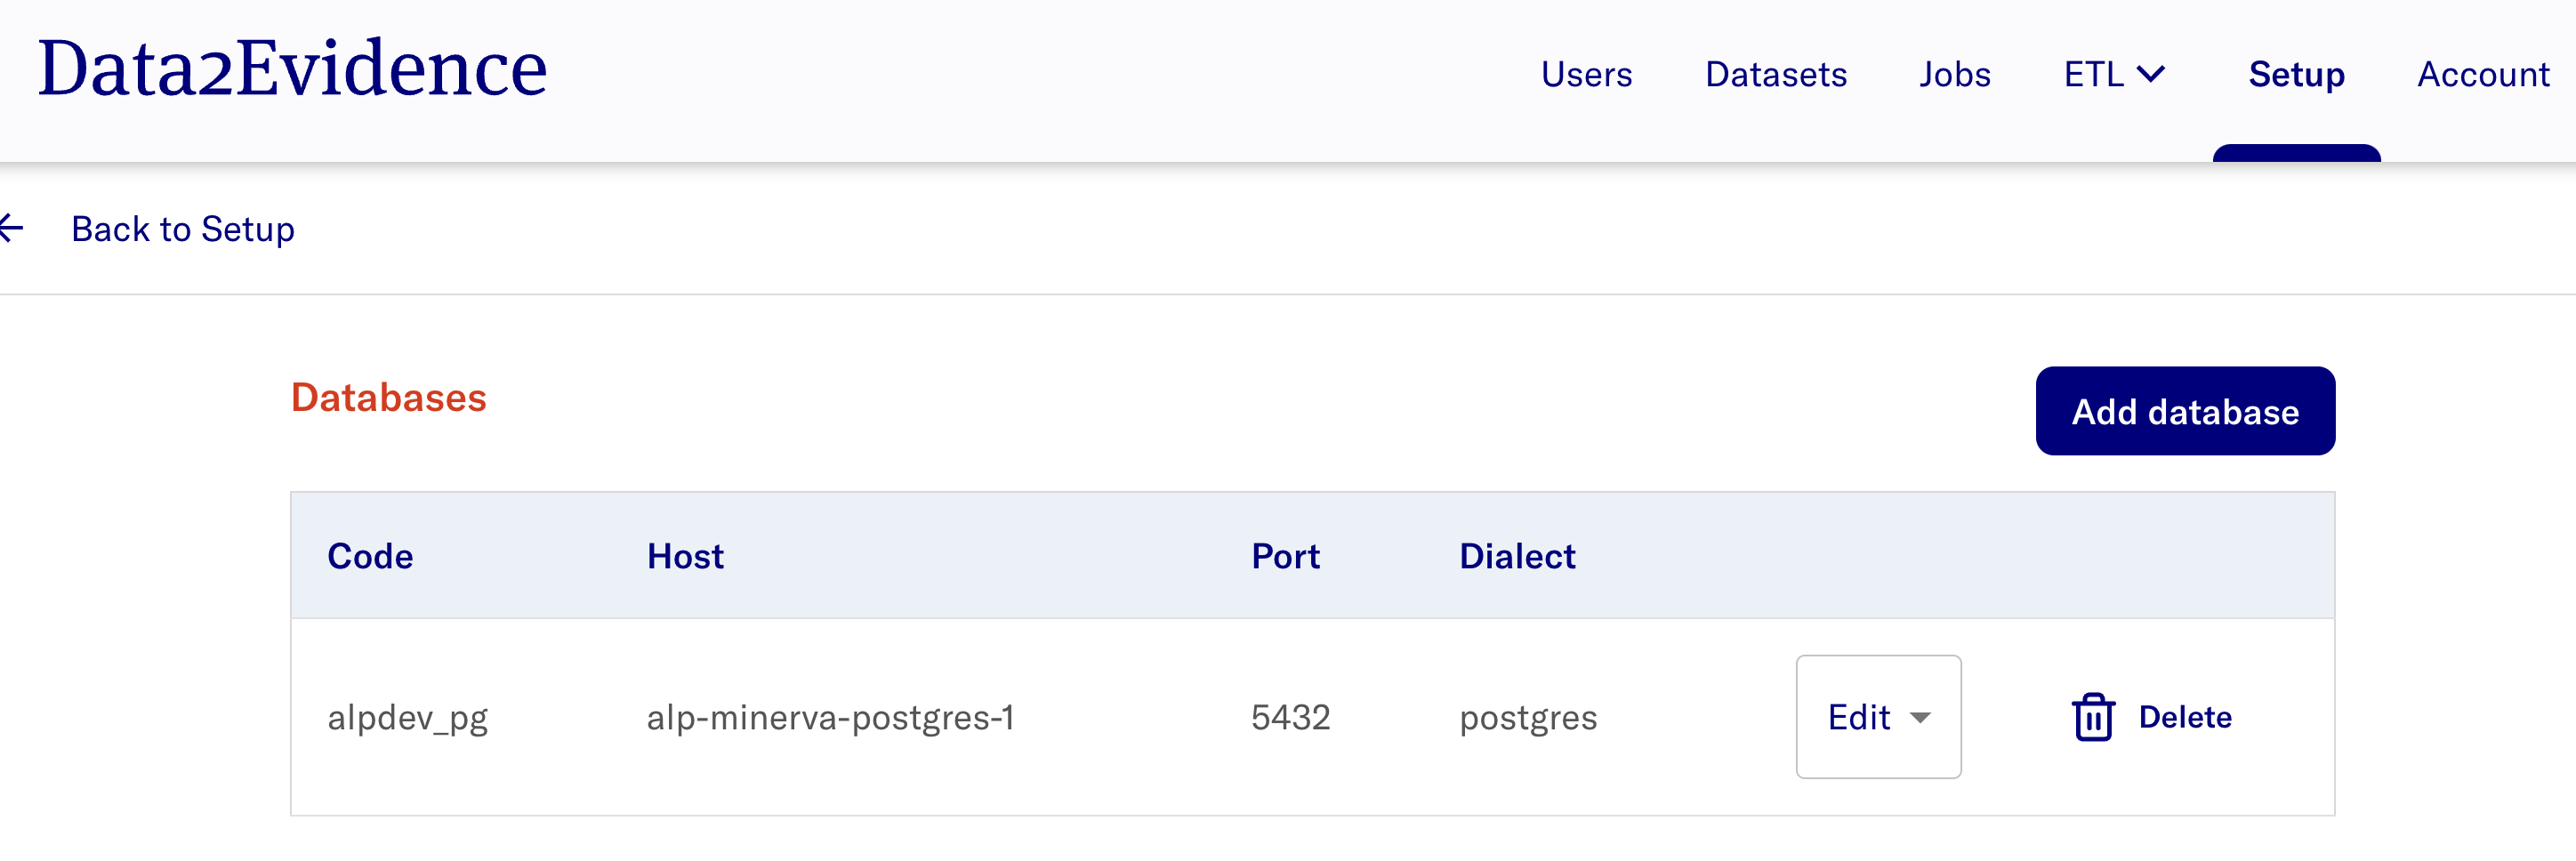
- In the Admin Portal, navigate to Setup > Databases > Configure > Add database
The expected display is:

- Select Add database and provide the database information accordingly. Refer to documentation here for more details on the input parameters for database creation.
The expected result after adding a database is:

- Perform a restart of the system for new connection details to be provisioned to the data services using the command:
d2e stop
d2e start
If there is no existing databases available, the following sample databases can be used. After loading the databases, continue with the guide from section Plugins onwards.
- broadsea-atlasdb: Refer to the docs here
Plugins
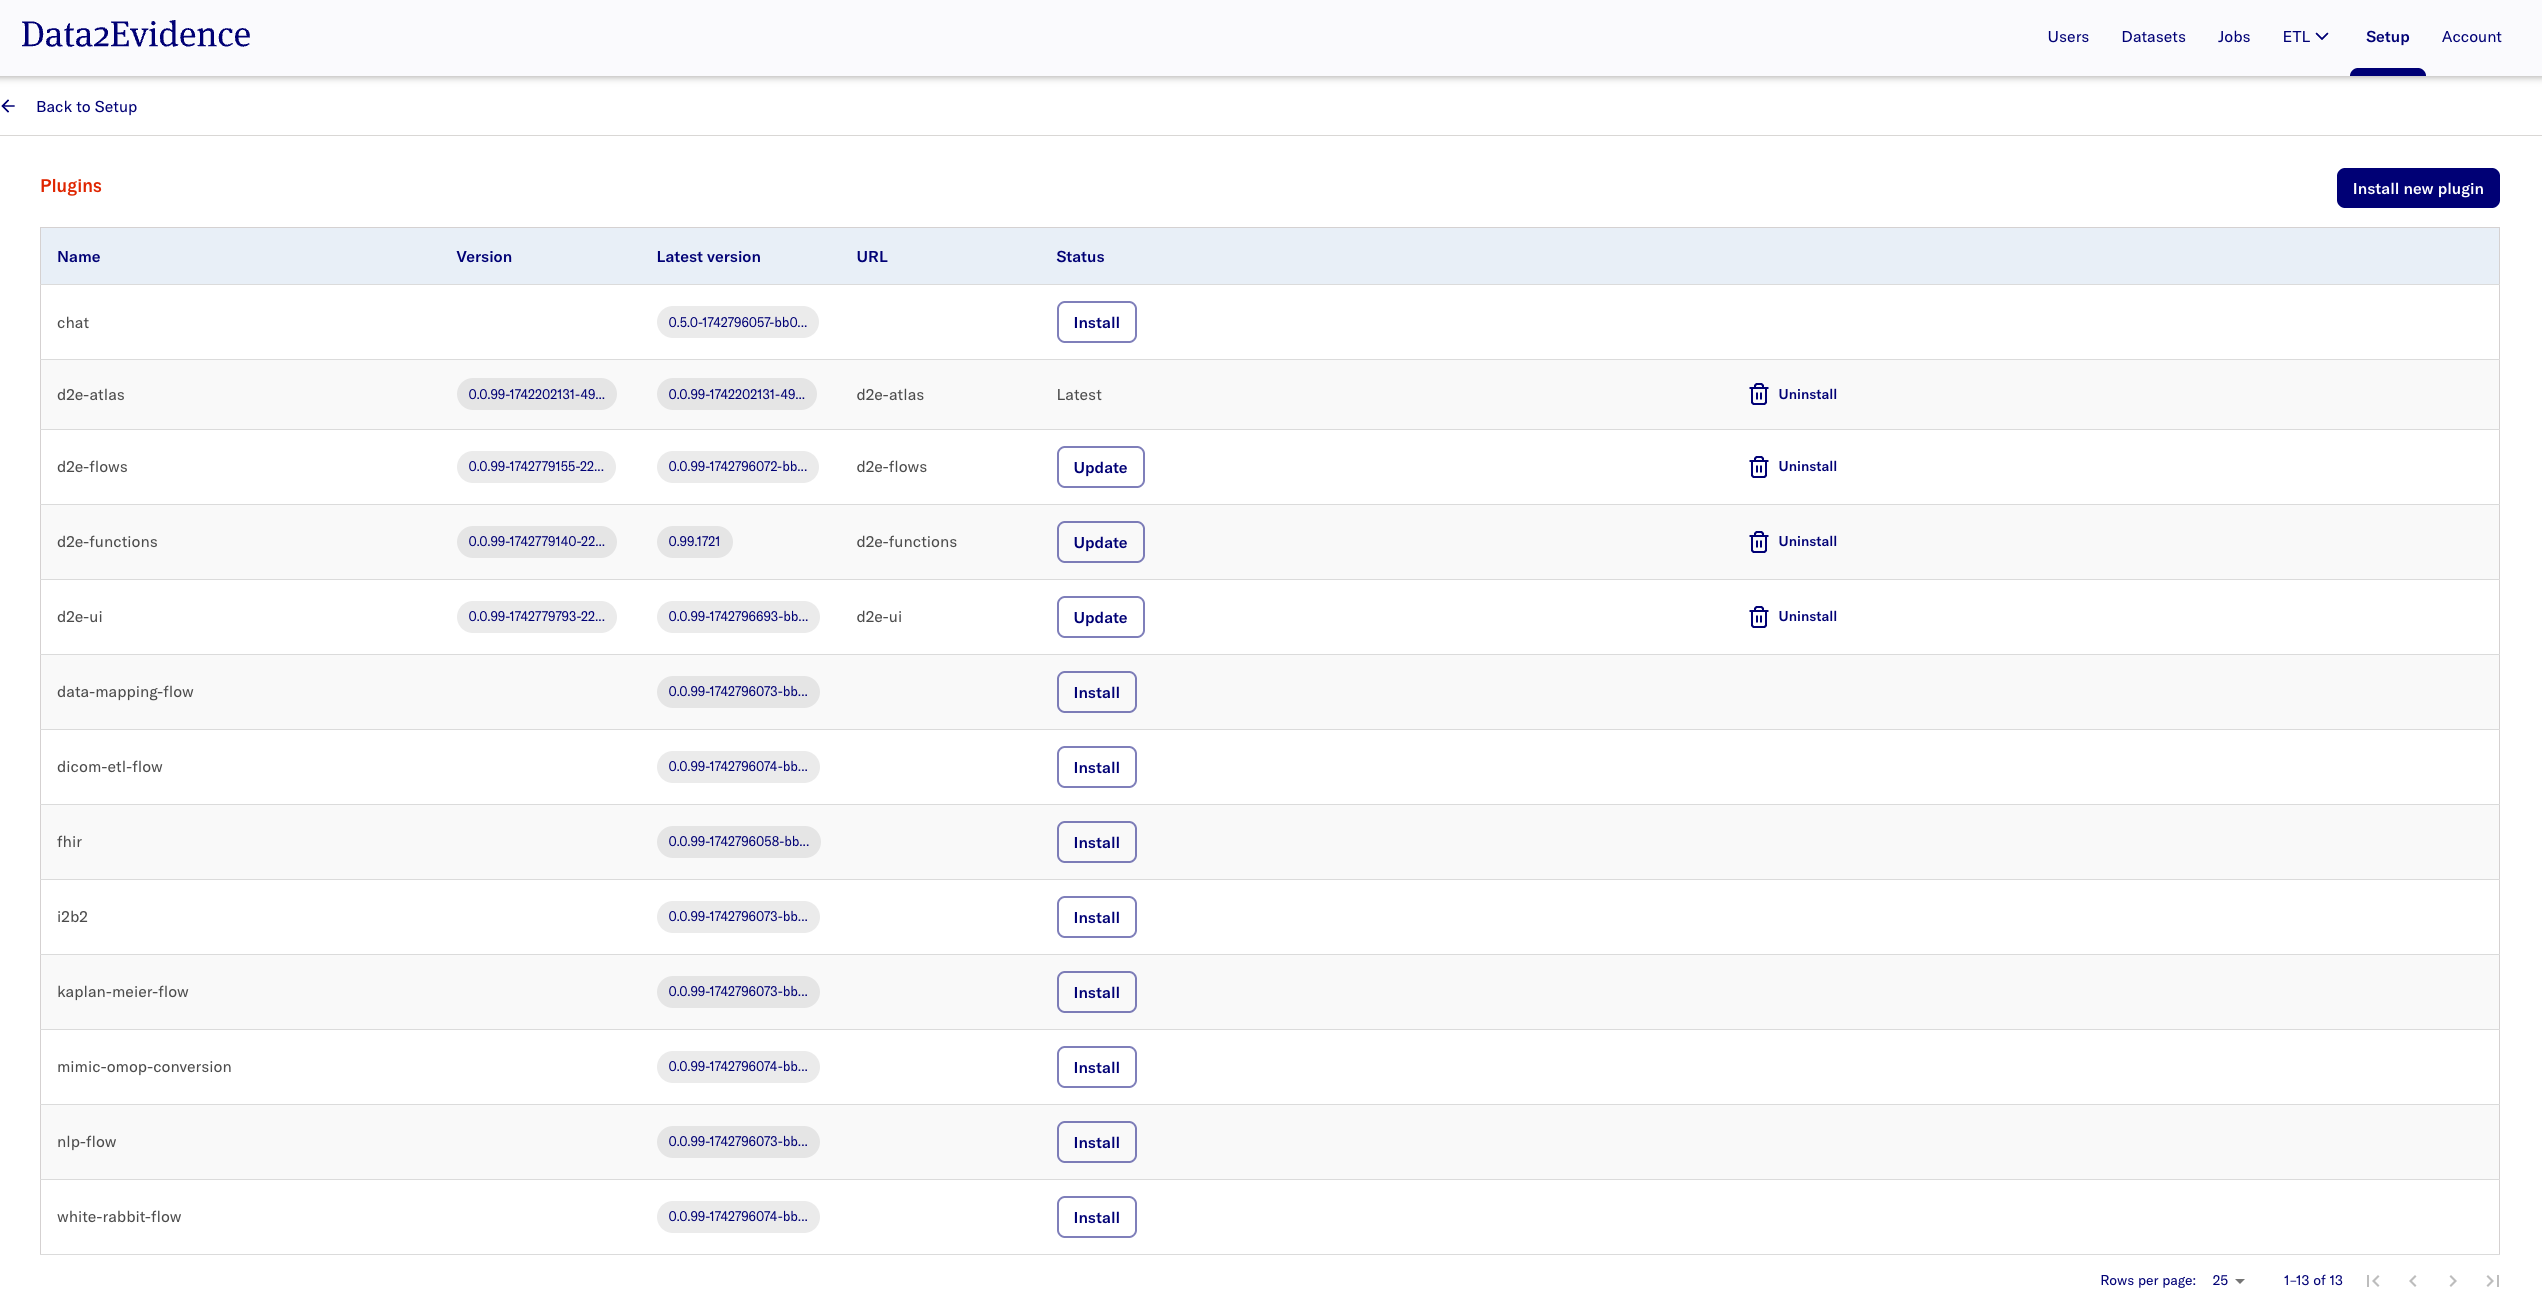
The Admin portal allows the admin user to manage plugins in the platform, for instance installation, version updates and uninstallation of plugins.
- In the Admin Portal, navigate to Setup > Plugins > Configure
The expected display is:

Jobs Portal
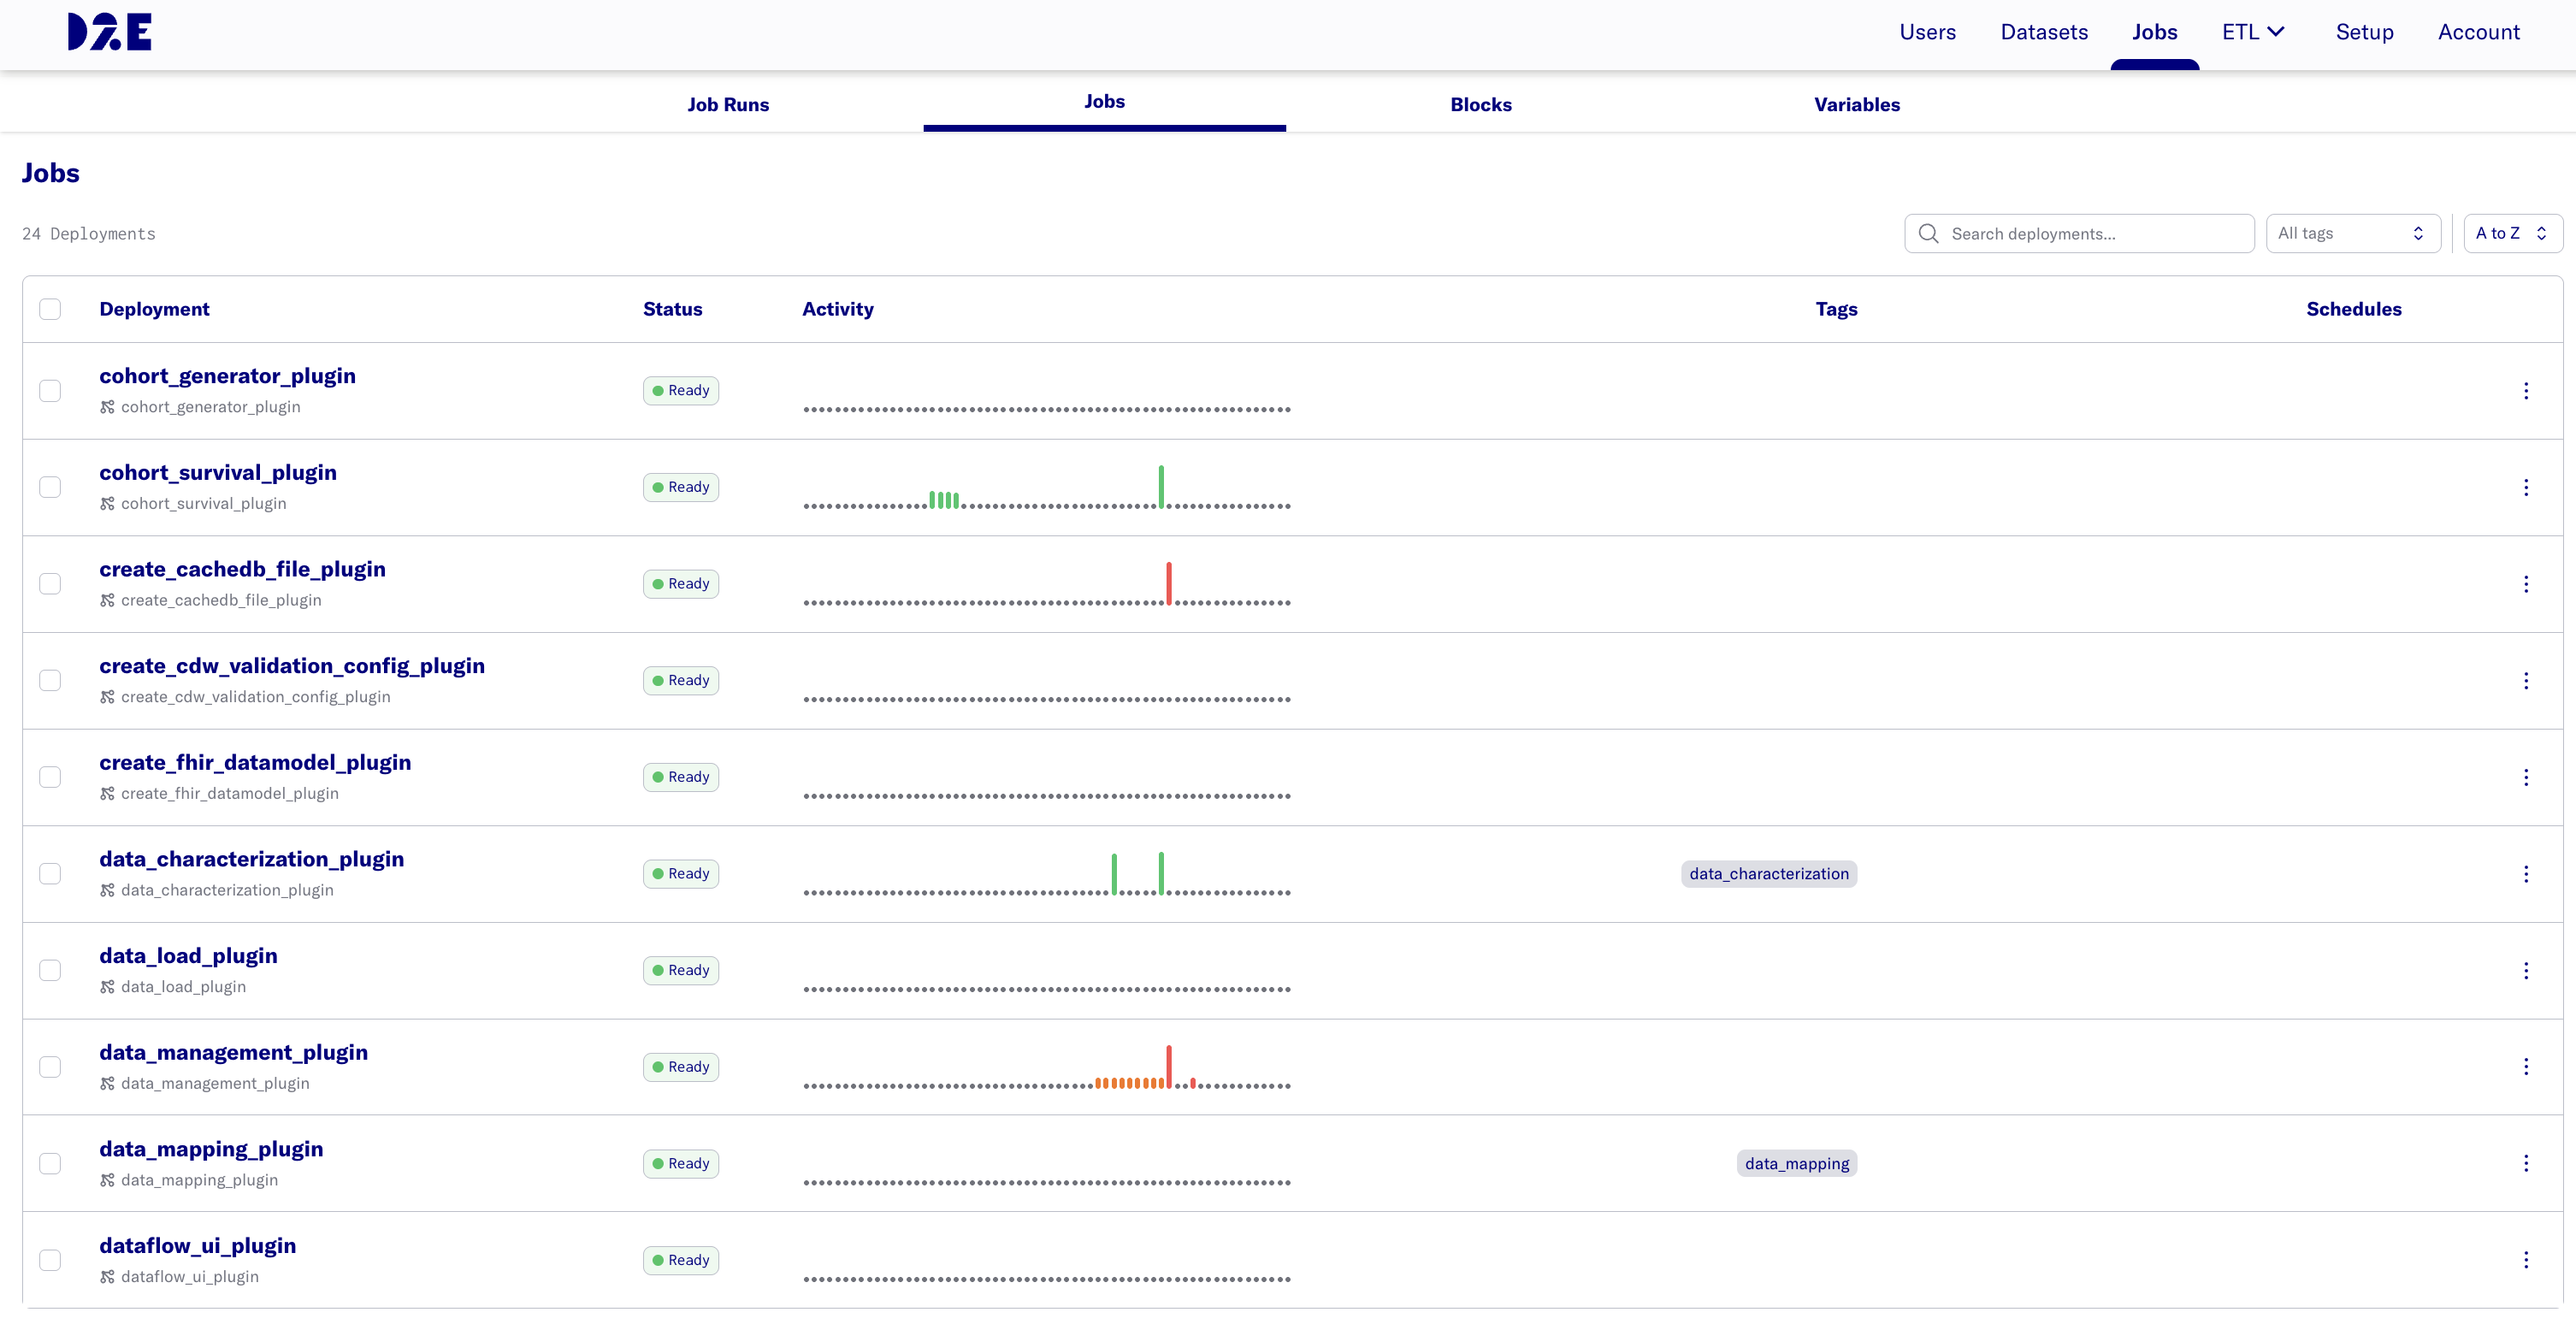
The Admin portal allows the admin user to perform customized and scheduled job runs from plugins that have been installed.
-
In the Admin Portal, navigate to Jobs and select the Jobs tab.
The expected display is:

-
Select the
⋮icon to perform the respective job functions. -
Select Job Runs tab to get the job run status.
Creating Datasets
-
In the Admin Portal, navigate to Datasets > Add dataset
The expected display is:

-
Provide the dataset parameters accordingly.
The expected result upon successful addition of dataset:

Dataset Permissions
The Admin Portal allows the admin to perform dataset management to provide users with permissions for selected datasets.
- In the Admin Portal, navigate to Datasets.
- Navigate to the dataset you wish to provide/revoke permission access for users.
- Under Actions dropdown, select Permissions to view users who have requested for access or provide access to existing users.
- Refer to the documentation here for a detailed guide on setting permissions.
Platform Configuration
Generating Data Quality Dashboard (DQD)
This section outlines the steps required for generating the Data Quality Dashboard for a dataset. Note: This section is not required if the demo dataset is used.
-
In the Admin Portal, navigate to Datasets. Navigate to the dataset of interest and click Select Action.
-
Select Run data quality and select the Run Analysis button.
-
Repeat the step for Run data characterization.
-
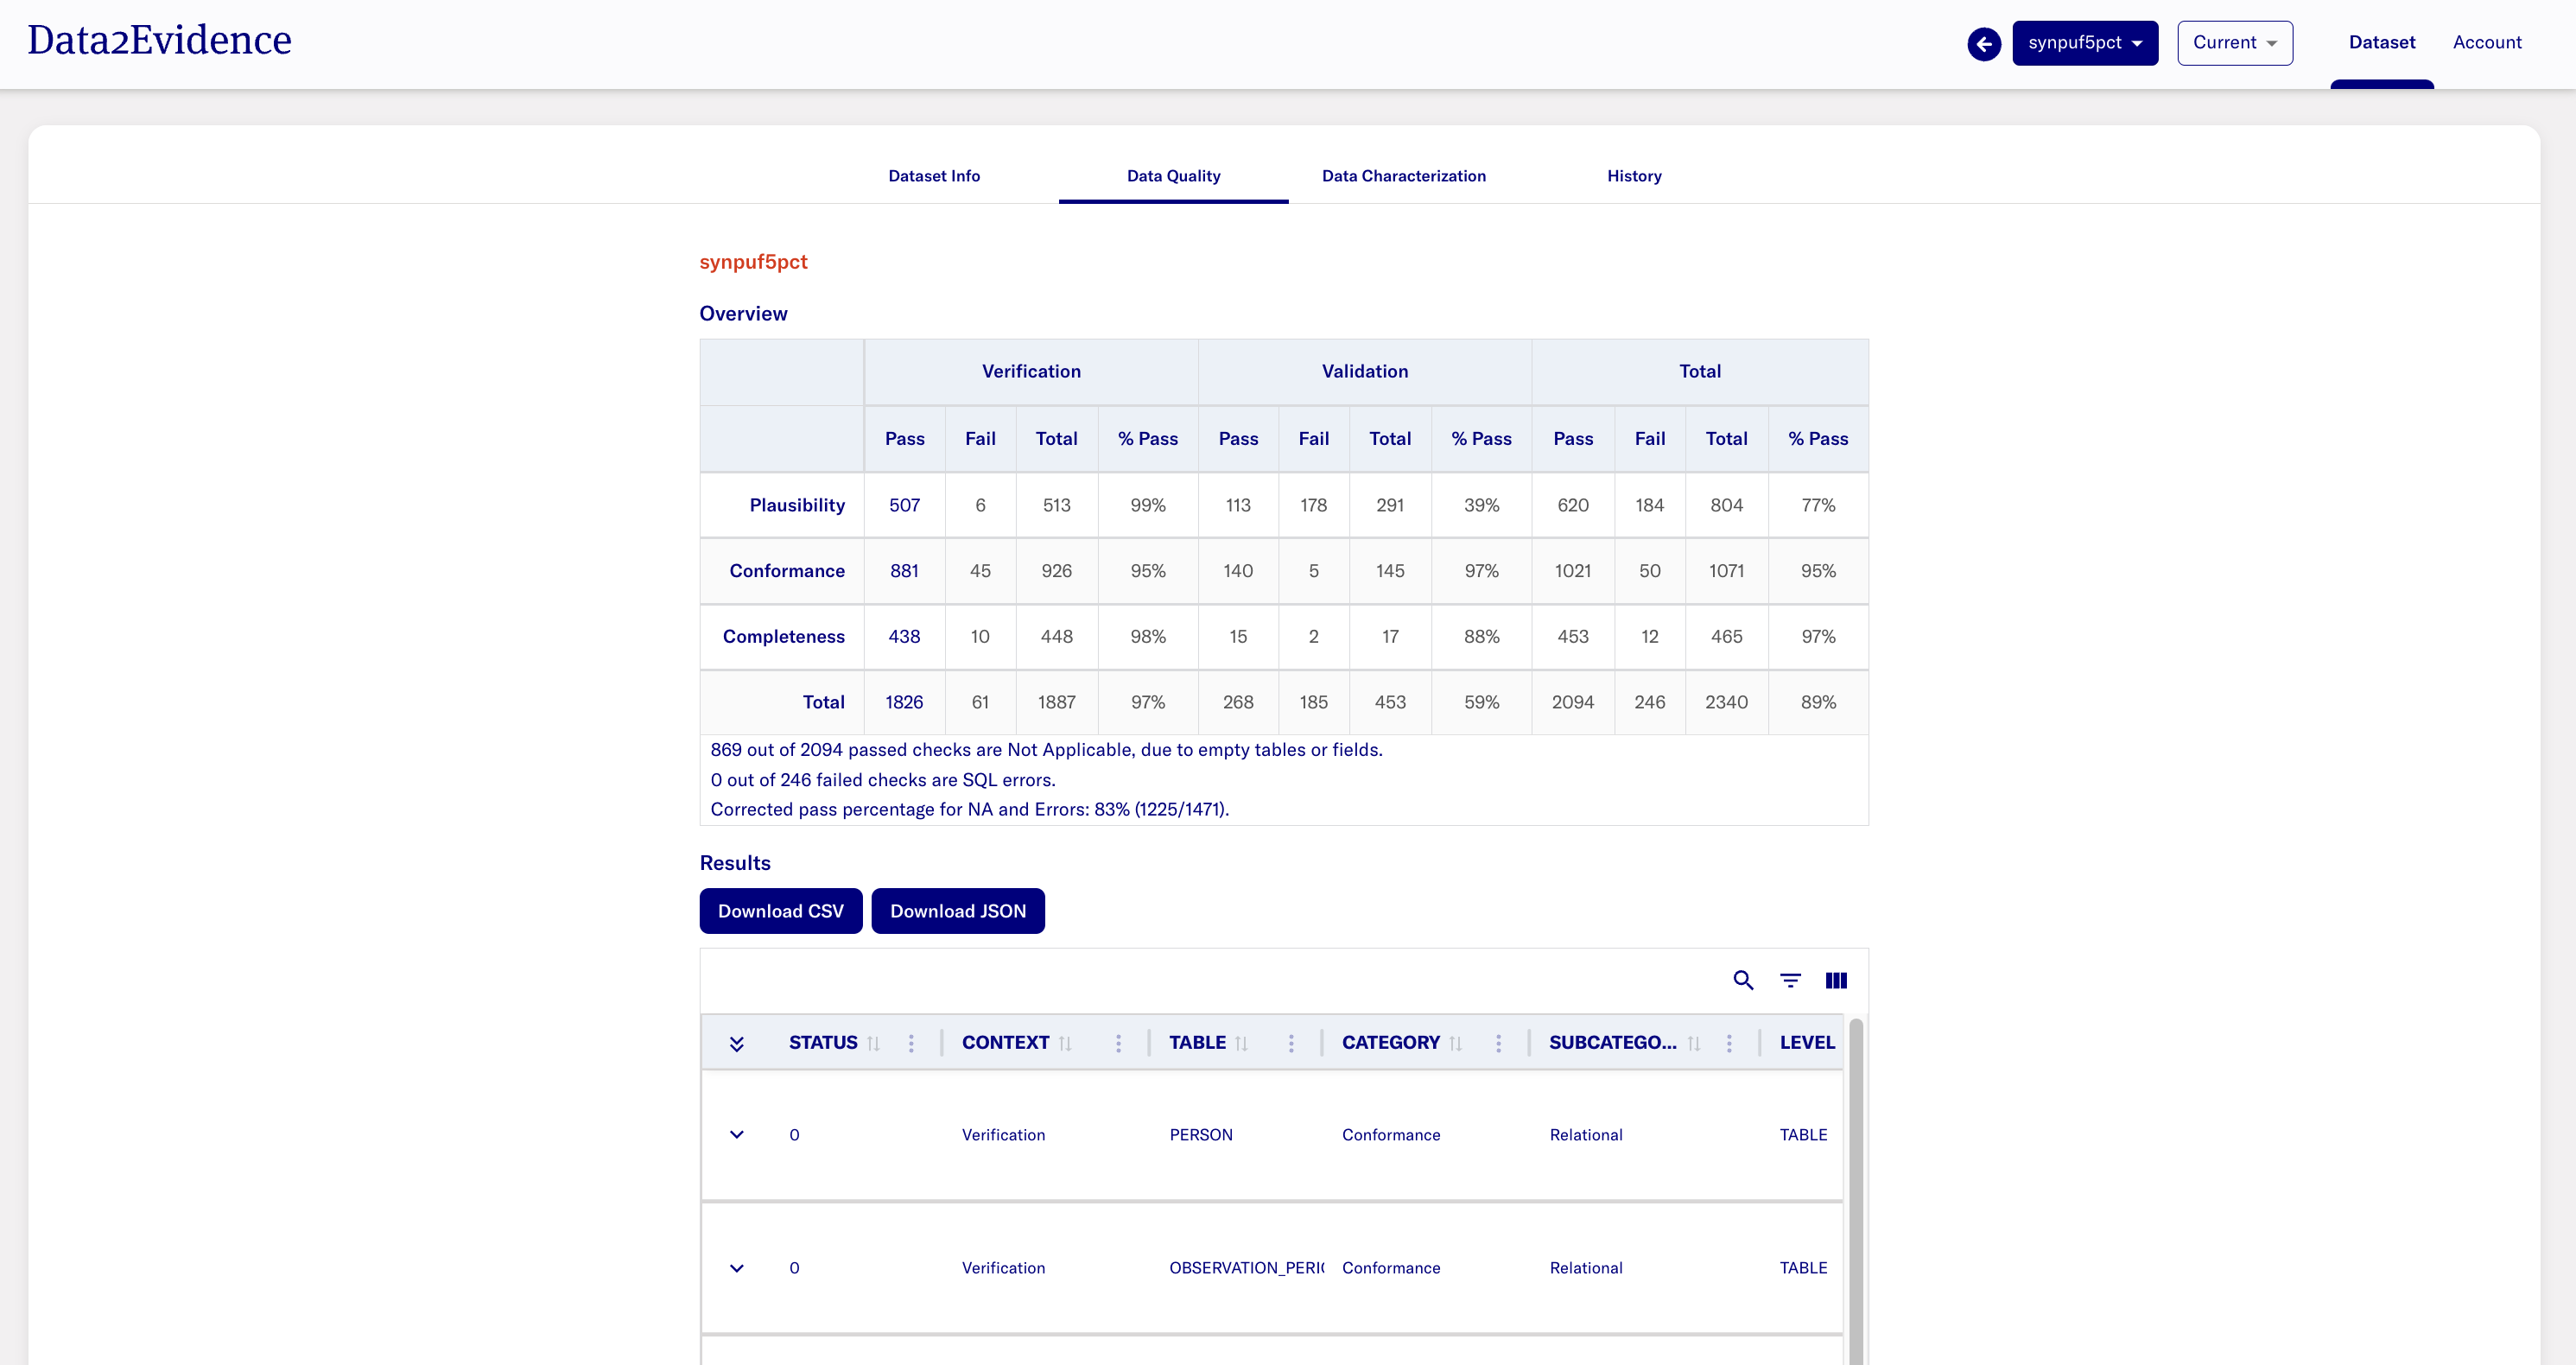
After completing the Data Quality and Data Characterization job runs, refer to the documentation here to access the Data Quality Dashboard for the respective datasets in the Researcher portal.
The expected result is:

Create Publication
This section provides the steps for setting up the analytics environment. This section is not required if the demo dataset is used.
Replace the following variables:
publication-name,database-name,container-namewith the parameters used in database setup.pg-userwith postgres user for replication role.schema-1andschema-2with schemas for creating publication.
DATABASE_NAME=<database-name>
PUBLICATION=<publication-name>
CONTAINER_NAME=<host-name>
USER=<pg-user>
SCHEMA1=<schema-1>
SCHEMA2=<schema-2>
- Create publication for schemas:
docker exec -it $CONTAINER_NAME psql -h localhost -U postgres -d $DATABASE_NAME -c "CREATE PUBLICATION $PUBLICATION FOR TABLES IN SCHEMA $SCHEMA1, $SCHEMA2;"
docker exec -it $CONTAINER_NAME psql -h localhost -U postgres -d $DATABASE_NAME -c "ALTER TABLE $SCHEMA1.COHORT REPLICA IDENTITY FULL; ALTER TABLE $SCHEMA1.COHORT_DEFINITION REPLICA IDENTITY FULL; ALTER TABLE $SCHEMA2.COHORT REPLICA IDENTITY FULL; ALTER TABLE $SCHEMA2.COHORT_DEFINITION REPLICA IDENTITY FULL;"
docker exec -it $CONTAINER_NAME psql -h localhost -U postgres -d $DATABASE_NAME -c "ALTER ROLE $USER REPLICATION;"
Refer to here for an example setup.
Update Datasets Metadata
- In the Admin Portal, navigate to Datasets tab and select Update dataset metadata.
- Refer to the documentation here for more details.